
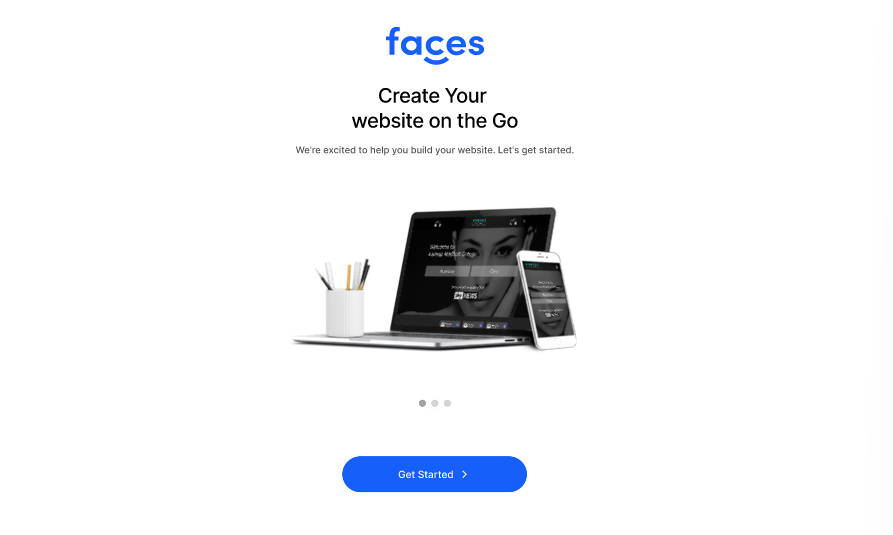
Creating an appealing website is key for businesses in the beauty and aesthetics industry. A good website shows your style and attracts more customers. Faces’ Professional Website Design and Build Feature helps with this. It’s a tool that lets you create a free website for business easily.
With it, you can choose an aesthetic website template, add your touch, and get online fast. This tool is great for anyone looking to create a website for their aesthetic business without hassle. Whether updating your site or starting from scratch, Faces makes it simple.
Importance of a Website for Aesthetic Businesses
A presentable and attractive website is necessary for any aesthetic business in today’s digital world. It’s often the first place customers look to find out about your services. A well-designed site can show off your work and help build trust with potential clients. It’s not just about looking good, though.
Your site needs to be easy to use and find on search engines. This is where aesthetic web design comes in. It helps make sure your site looks great and works well, too. Plus, with tools like Faces, you can get a professional-looking site without knowing much about web design.

How to Create a Free Website for Your Aesthetic Business with Faces
Here are the steps to design and launch a visually stunning website for your aesthetic business using Faces, guiding you from concept to completion.
Step 1: Getting Started with Faces
Starting with Faces for your aesthetic business website is easy. First, go to Faces’ website. There, you’ll find the Professional Website Design and Build Feature. This tool is made for aesthetic practitioners like you. It helps you create a free website for business quickly and easily. You don’t need to be an expert in web design because Faces provides everything you need.
They offer customisable, free website templates that you can use for free. These templates are designed to enhance your brand’s online presence. You can select a style that perfectly aligns with your business’s identity and ethos. This approach allows you to create a website that meets your functional needs and resonates with your brand’s unique story and values.
A good website makes people want to visit your business. That’s why getting it right is the key to your business success. And Faces makes this step simple, helping you create an appealing aesthetic web design.
Step 2: Setting Up Your Website URL
For your website, choosing the right URL is important. Your URL is how people find you online. Think of it as your digital address. It should be easy to remember and say. First, think about your business name. Your URL should include this name so people can find you easily.
When you create a free website for business with Faces, they will help you with this step. You type in your business name and create your preferred URL. Pick one that feels right for you. A good URL is not just a name. It’s also important for people to find you on the search engines. This is where SEO comes in.
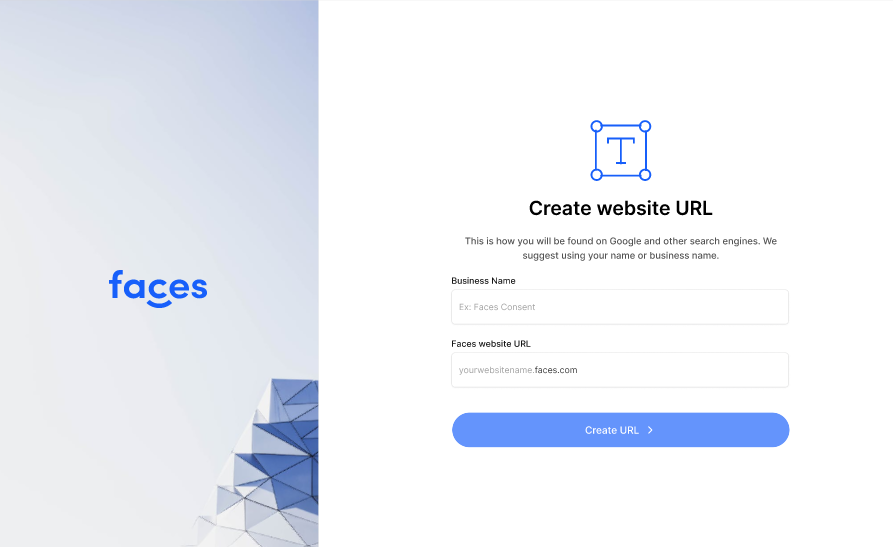
SEO stands for Search Engine Optimization. It means making your free website easy for search engines to find you. It’s like telling Google and other search engines, “Here’s my business, and it’s about beauty and aesthetics.” That way, when people search for beauty and aesthetic services, they will find you. So, choosing the right URL is key to making your aesthetic web design work for you.
Step 3: Uploading Your Business Logo
Your logo is a big part of your aesthetic business’s identity; it’s the symbol people remember. Uploading your logo to your website is easy. First, ensure your logo is in the right format: PNG, JPG, or JPEG. These are ideal for web use, ensuring your logo remains sharp and clear.
Incorporating your logo boosts your brand’s presence, giving your aesthetic business a professional edge. A well-displayed logo builds brand recognition and trust, setting you apart in the competitive market.
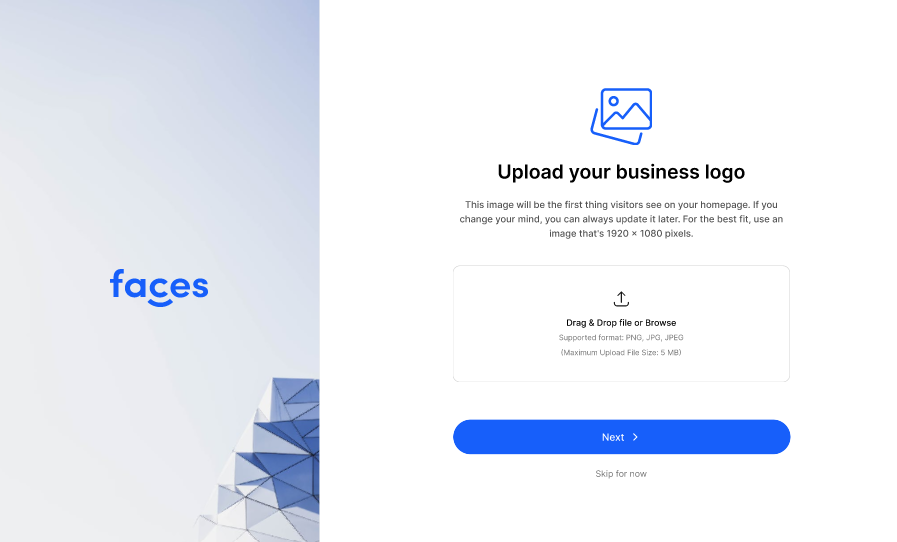
Also, your logo should have a transparent background. This means it will look good on any part of your website. When you have your logo ready, it’s time to upload it. The process is simple. Click the button to upload, and select your logo file. Remember, the file should be smaller than 5 MB. This is about the size of a high-quality photo. Once you upload it, Faces adds it to your free website.
Take your time to choose a good logo. It’s one of the first things people see when they visit your site.
Step 4: Adding Your Website Cover Photo
The cover photo is the first picture people see on your website. It’s important to make a good first impression. The photo should show your aesthetic business, including your work, your products, or something that represents your style.
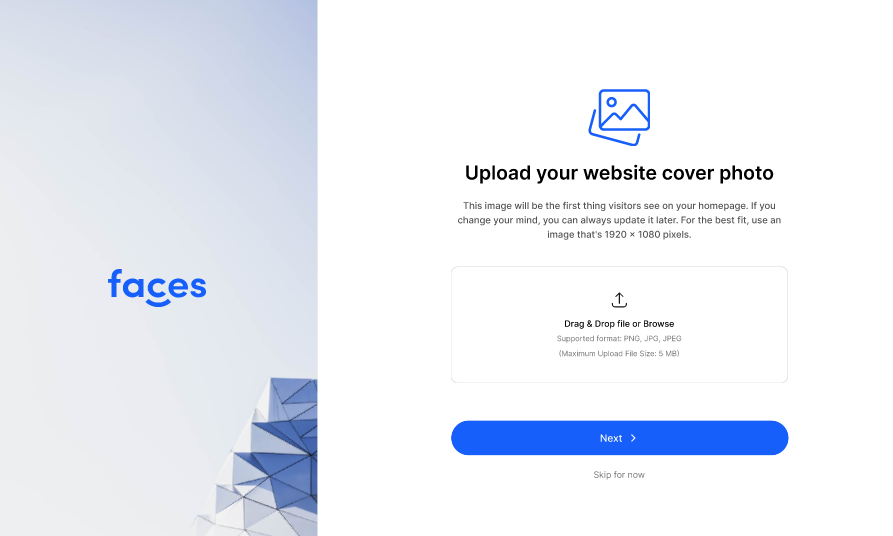
Uploading your cover photo is simple. Click ‘Upload’ and choose the photo file from your computer. Make sure the photo is the right size and high quality. After you upload it, Faces puts it on your homepage. You can replace it later on if you decide to change it.
Just upload a new photo the same way. Your cover photo is a big part of your aesthetic web design. It’s the first thing people see, so it should look great and tell them about your business.
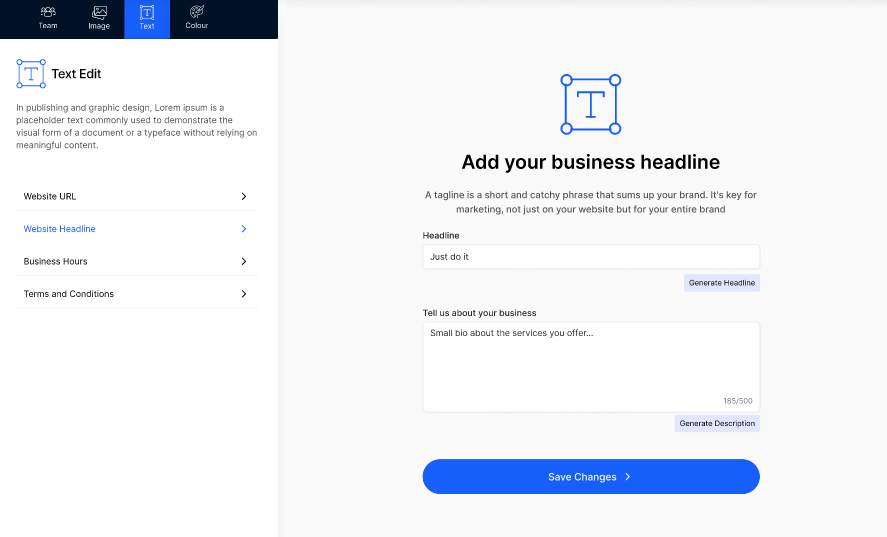
Step 5: Crafting Your Business Tagline and Bio
A tagline and bio are key parts of your aesthetic business website. They tell people what your business is about in a few words.
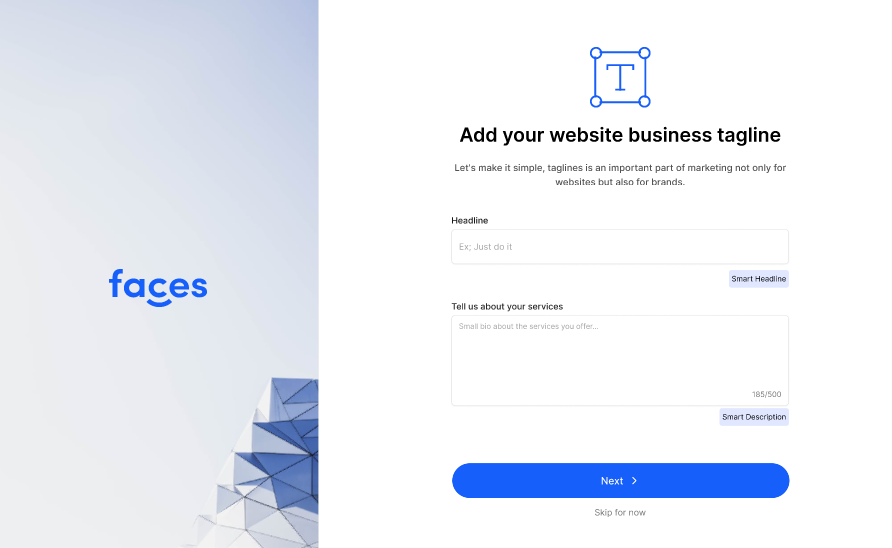
Creating a Catchy Business Tagline
- Think Short and Sweet: Your tagline should be a short, catchy phrase. It’s like a quick hello to your visitors.
- Reflect Your Brand: Make sure it shows the feel of your aesthetic business. Is your style modern, classic, or fun? Your tagline should say that.
- Use Faces’ Help: Not sure what to write? Utilise the “Generate a Headline” feature. It uses AI to come up with ideas for you.
Writing an Engaging Business Bio
- Tell Your Story: In a few sentences (500 characters max), share what your business does. Talk about your services and products.
- Keep It Simple: Your bio should be easy to read and understand. Think about explaining it to a friend.
- Use AI for Ideas: Their “Generate Description” feature can create a bio for you. It’s like having a writing helper.
Remember, your tagline and bio are often the first things people read on your site. They should grab people’s attention and make them want to learn more about your business. Creating these is easy and fun. You get to show off your style and tell your story your way.
Step 6: Showcasing Your Team
Build trust in your aesthetic website by showcasing your team. Here’s a guide on how to add your team members to your site, letting visitors see the faces behind your business:
- High-Quality Photos: Choose clear, professional photos of your team. They should be in PNG, JPG, or JPEG format and no bigger than 5 MB.
- Upload Photos: Click to upload the photos. You’ll get a pop-up to allow access to your gallery.
- Add Details: For each team member, include their full name, qualifications, and job role.
- Describe Their Role: Write a few words about their work in 300 characters. You can use the “Generate Description” feature for ideas.
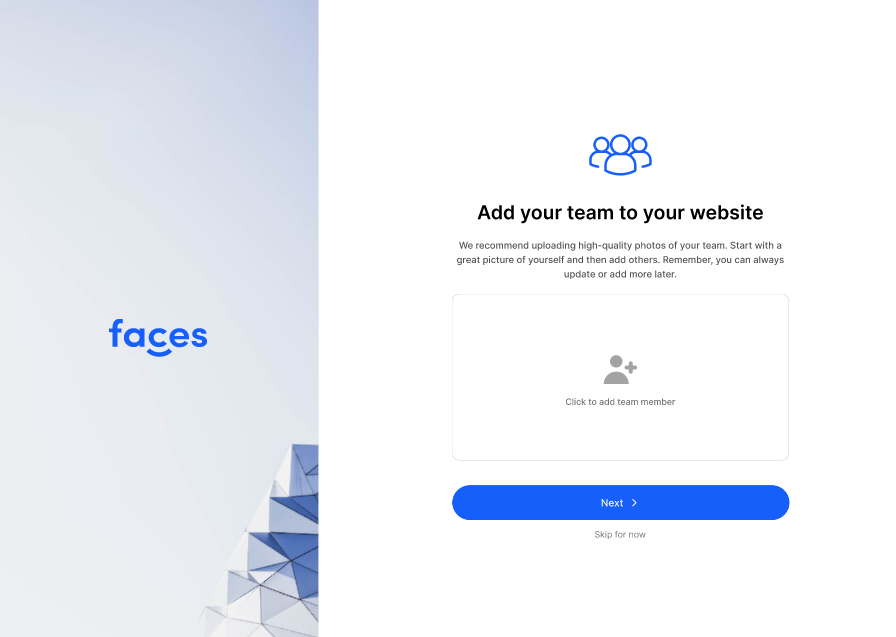
Best Practices for Team Photos and Descriptions
- Be Consistent: Make sure all photos look similar. This means the same style and quality.
- Keep it Real: Photos should look natural and friendly. This helps visitors feel more connected to your team.
- Engaging Descriptions: Write short, interesting descriptions. They should tell visitors what each team member does and what makes them special.
Adding your team to your website helps make your business feel more personal. People can see who they will be dealing with. It’s like introducing your team to new friends. With Faces, this step is easy and makes your free website feel complete.
Step 7: Choosing Your Website Template and Colours
Picking the right template and colours for your website is fun. It’s like choosing the perfect outfit for your business. Faces make this easy for you. Here’s how:
- Choose a Template: A template is like a pre-made design for your site. Pick one that fits your aesthetic business style.
- Select Your Colours: Colours are important. They show your brand’s personality. This feature lets you select colours that match your brand’s tone. These set the mood for your site.
- Try the Colour Picker: You can slide to see more options. You can even pick a custom colour, one that’s just right for you.
- Preview Changes: Preview your website and make any necessary adjustments as needed.
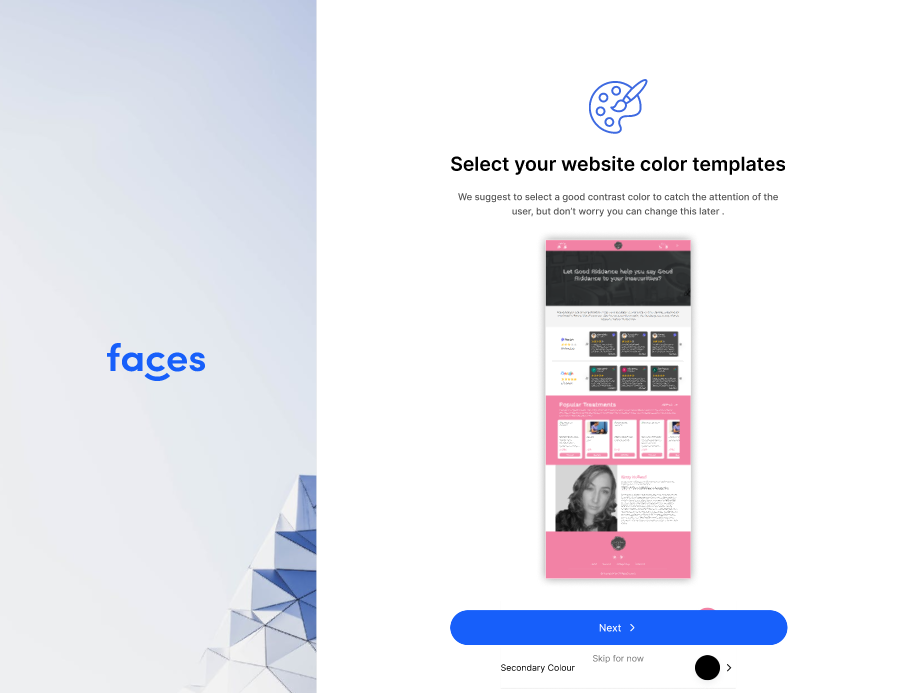
Advice on Choosing Colours That Reflect Your Brand Identity
- Match Your Style: Pick colours that show what your business is like. Are you fun and bold? Soft and calm? Your colours should tell that story.
- Think About Feelings: Colours can make people feel things. Blue can be calming, while red can be exciting. Choose colours that make people feel the way you want them to.
- Stay Consistent: Use the same colours across your website. This makes your site look professional and put together.
When creating a free website for business, choosing your template and colours is a big part of making your website. It’s how you show the world who you are.
Step 8: Connecting Social Media Accounts
Linking your social media accounts to your website is a smart move. It helps more people find and connect with your business. Here’s how you can do it:
- Choose Your Platforms: Think about where your customers are. Facebook, Instagram, and WhatsApp are popular choices.
- Connect on Faces: There’s a place to add your social media on the Faces platform. Just put in your social media details.
- Gain More Traffic: By connecting these accounts, more people can find your website. It’s like opening more doors to your online business.
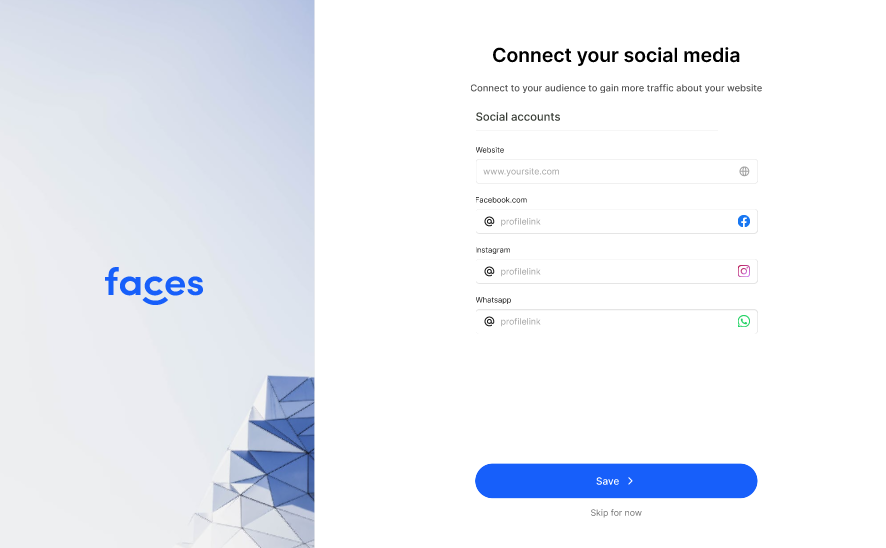
Remember, if you ever want to disconnect your social media from Faces, you can. There’s an option to do this on the web builder. But having these accounts linked is a big help. It makes your aesthetic web design more powerful. It’s a key step in growing your business online.
Step 9: Updating Personal and Business Details
Adding your contact details to your aesthetic website is important. It helps people get in touch with you. Here’s how to update these details:
- Enter Your Name: Start by typing your first and last name. This tells visitors who they are talking to.
- Business Contact Number: Add your business phone number. It’s how customers can call you.
- Business Hours: You can also add your opening hours. This lets people know the best time to visit or call.
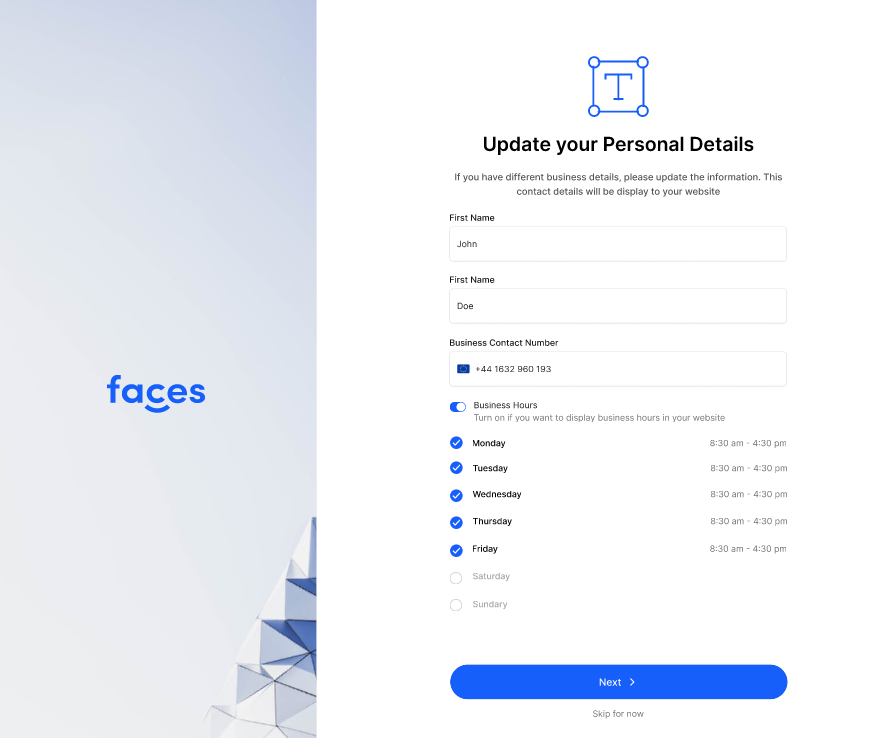
Remember, adding these details is easy. You just type them in. These details will be shown on your free website. They help customers know who you are, how to call you, and when. It’s a simple but key step in making your website work for you.
Step 10: Crafting Your Terms & Conditions
Terms and conditions are important for your aesthetic business website. They are like the rules for using your site. Here’s how you can create them:
- Writing New Terms: You can write your Terms & Conditions. Keep them under 5000 characters. This means they should be clear but not too long.
- Uploading a File: If you already have Terms & Conditions, you can upload them. Make sure they are in a Word document or PDF and not more than 5 MB in size.
- Using Templates: Faces offers “Terms and Condition Templates”. These are ready-made, and you can use them for your site. It’s like having a starting point.
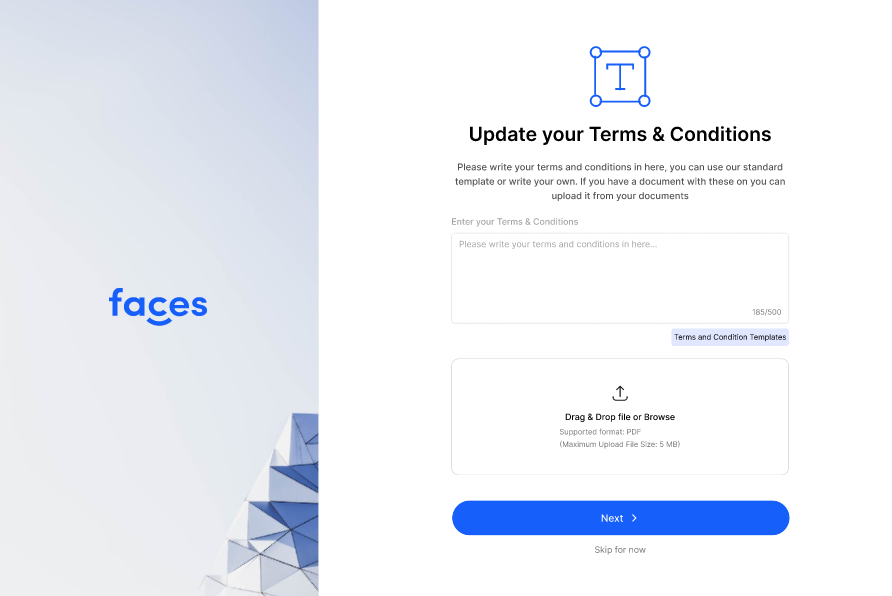
Utilising “Terms and Condition Templates” Feature
- Save Time: Using a template means you don’t have to write everything from scratch.
- Get Ideas: Templates can suggest what to include in your Terms & Conditions.
- Customisable: You can change the templates to fit your business needs.
Adding Terms & Conditions to your site helps protect your business. It also makes sure your customers know what to expect. Creating or uploading these is straightforward. It’s an important step in setting up your aesthetic website.
Step 11: Previewing, Editing, and Publishing Your Free Website
Once you’ve added all the parts to your aesthetic website, it’s time to check, tweak, and share it with the world. Here’s how you do it:
- Preview Your Site: First, look at your website as a visitor. Check how everything looks and works. This is like trying on clothes before you buy them.
- Edit Text: You can change words on your site. This includes your website URL, headline, business hours, and terms & conditions.
- Edit Colours: Change the colours of your tagline, descriptions, and more. You can adjust their brightness and even pick new colours.
- Edit Images: Update your cover photo and logo if you need to. Make sure they show off your business best.
- Edit Team Details: Add or change info about your team members.
Detailed Steps to Edit Text, Colours, Images, and Themes
- Text Edit: Look at your words. Make sure they are easy to read and say what you want.
- Colour Edit: Choose colours that match your style. You can make them lighter or darker or pick new ones.
- Image Edit: Make sure your pictures look good. They should be clear and fit well on your page.
- Team Edit: Check your team’s info. Make sure it’s right and shows how great they are.
- Website Theme: You can change the overall look of your site. Pick colours that make your website feel like your business.
Once everything looks perfect, it’s time to share your site with the world. Just click the publish button. This makes your site live. Now, anyone can visit it and see your amazing aesthetic business online.
Creating, checking, and sharing your website is easy and fun. You get to make a free website that looks just how you want. And when you’re ready, you can show it off to everyone.
Conclusion
Creating a website is very important for beauty and aesthetic businesses. A good website shows off your work and helps more people find you. It’s like your online shop window. Faces make website building easy and hassle-free.
You don’t need to be an expert in web design. With Faces, you can create a free website for business by choosing a beautiful template, adding your own photos and words, and getting your site live quickly.
Remember, your website is a big part of your business. It should look professional and inviting. Faces is a great tool for this. It helps you create a website that looks just how you want. Plus, it’s simple to use. So, if you want a website that shows off your business in the best way, give Faces a try. You can build a site you’re proud of, and your customers will love it.